One thing that surprises a lot of people is that zoysia seed needs light to germinate. Unlike many grass seeds you can rake in or cover with a thin layer of soil, zoysia seed actually performs better when it sits on top of a prepared seedbed with sunlight reaching it directly. Burying it or raking it in reduces germination. That one quirk shapes a lot of the process described below, so keep it in mind as you read through.
Picking the right zoysia seed and where to buy it
Not all zoysia is available as seed. The majority of zoysia varieties, including many popular ones, are only sold as sod, sprigs, or plugs because they do not produce viable seed reliably or at all. If you are in the transition zone (think Missouri, Kansas, Virginia, North Carolina, Tennessee) or further north, your seeded variety options are genuinely narrow. The two cultivars most consistently recommended by university extension programs for seeded establishment are Zenith and Companion. Both have demonstrated winter hardiness suitable for Midwest and upper-South climates. Zenith in particular is identified by the University of Missouri Extension as the only seeded cultivar that reliably meets Midwest winter hardiness requirements.
If you are in the deep South (Florida, Gulf Coast, lower Southeast), you have more flexibility because winter hardiness is less of a concern, and some additional seeded-type varieties become viable options. That said, Zenith and Companion are still solid, widely available choices in those regions too.
When buying seed, purchase from a reputable supplier who specifies the variety by name. Bags labeled generically as "zoysia seed" without a cultivar name are a red flag. Buy from a lawn seed retailer, farm co-op, or extension-recommended seed supplier in your region. Coated seed (seed with a clay or polymer coating) is also available and raises the seeding rate you will need, but can improve seed-to-soil contact and moisture retention around each seed. More on rates in the seeding section.
When to plant: timing is everything with zoysia seed
Zoysia is a warm-season grass, and its seeding window is genuinely narrow. Plant too early and the soil is still cold, germination is slow or fails, and young seedlings sit vulnerable to late cold snaps. Plant too late in summer and the seedlings do not have enough warm weeks to build root systems before winter, which can wipe out a first-year planting entirely. University of Missouri Extension recommends targeting late May to mid-July, with around June 1 being their suggested sweet spot. They explicitly warn that late-summer plantings around mid-August may not give seedlings enough time to establish before winter injury sets in.
The soil temperature target to aim for is a consistent 65°F at the surface, with ideal germination occurring between 68°F and 72°F. If you have a soil thermometer, use it. If not, a good rule of thumb is that if daytime air temperatures are reliably above 75°F and nighttime temps are staying above 65°F, your soil is likely in the right range. Do not trust the calendar alone, especially if your spring has been unusually cool.
| Region | Earliest Planting Window | Latest Recommended Planting |
|---|
| Midwest / Transition Zone (MO, KS, VA, NC) | Late May (soil at 65°F+) | Mid-July |
| Upper South (TN, AR, KY) | Mid-May to Late May | Late July |
| Deep South / Southeast (GA, FL, TX Gulf) | Early May | Late August |
| Mid-Atlantic (MD, DE, southern NJ) | Late May to Early June | Mid-July |
If you are reading this in late March (like today), you are ahead of the planting window for most of the country. Use this time productively: do your soil test now, get your amendments ordered, and have your seed sourced and ready so you can hit the ground running when soil temps climb.
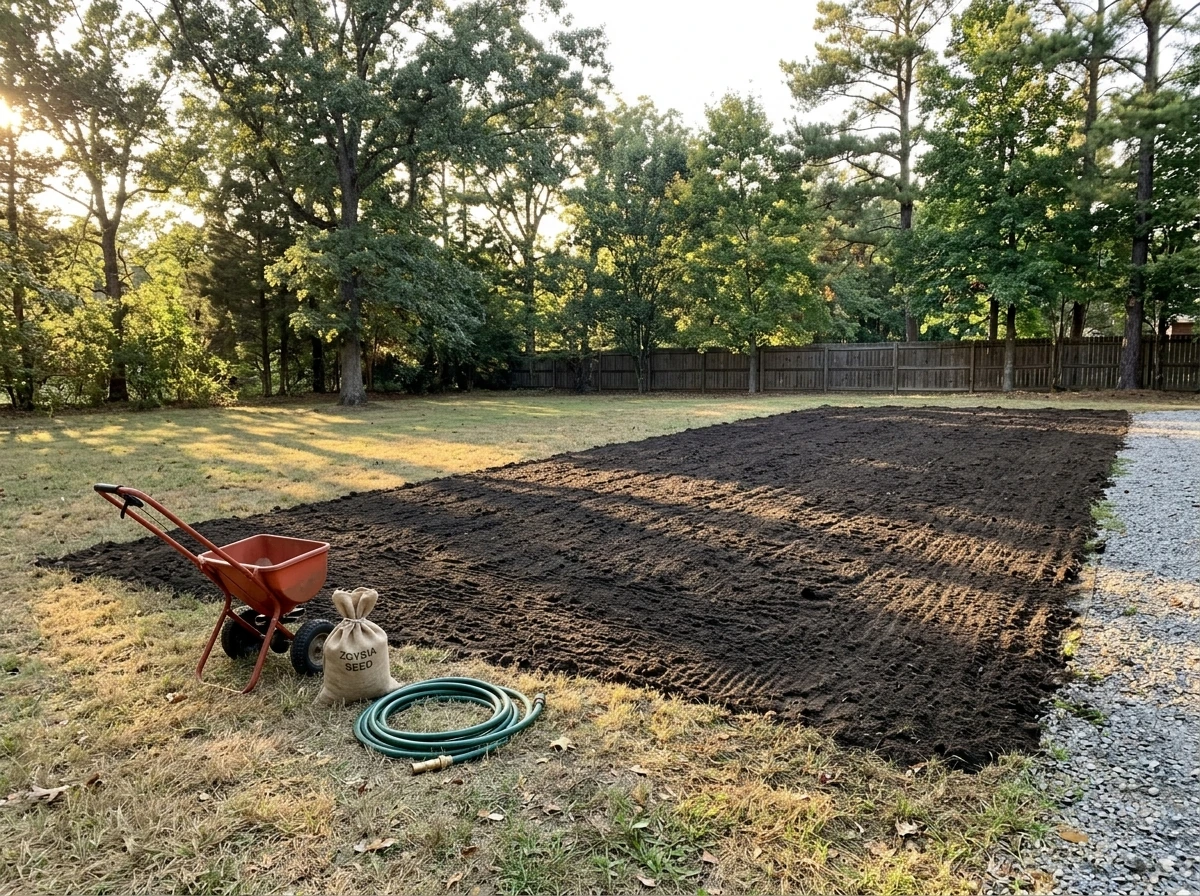
Getting your site ready for seed
Site prep is where most failed zoysia seedings go wrong. Because zoysia establishes slowly and has specific germination needs, any shortcuts you take here will show up as thin, patchy results later. Do this part right and the rest of the process gets a lot easier.
Start with a soil test
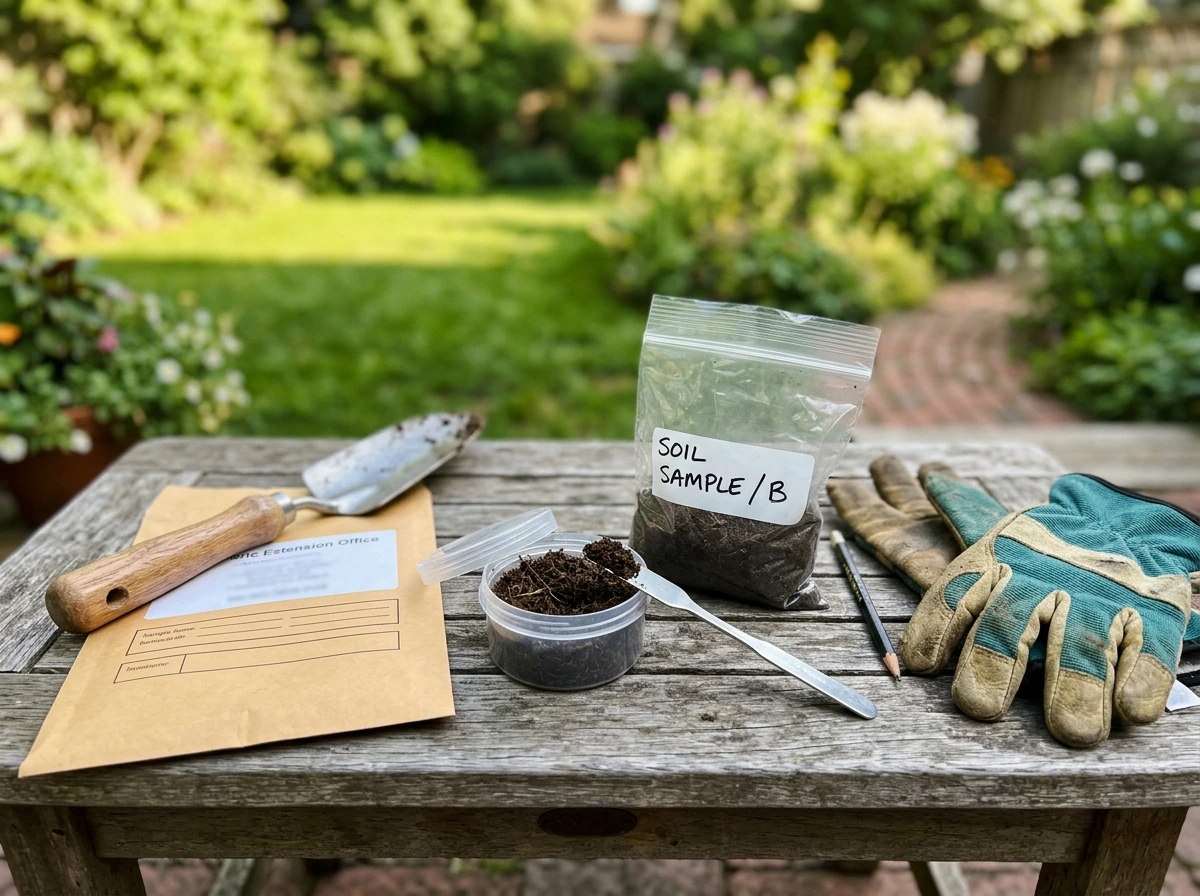
Get a soil test done before you do anything else. Your local cooperative extension office can process one for around $15 to $20, and it tells you your soil pH, nutrient levels, and what amendments you need. Zoysia prefers a soil pH of 6.0 to 6.5. If your pH is off, fertilizer and seed money are partially wasted because the grass cannot uptake nutrients properly. If you are in late March, mailing a sample in now gives you plenty of time to get results back and apply lime or sulfur well before planting.
Address compaction
If your soil is clay-heavy or has been compacted by foot traffic, equipment, or construction, core aerate before seeding. You can rent a core aerator from a home improvement store for about $75 to $100 for a half-day. Run it over the area in two directions for good coverage. Compacted soil prevents roots from penetrating and leads to poor moisture distribution, both of which slow already-slow zoysia establishment even further.
Grade and clear the area
Remove existing weeds, debris, and dead grass. If you are seeding a new lawn area or renovating bare soil, rough-grade to eliminate low spots where water pools and high spots that dry out fast. Zoysia seedlings are shallow-rooted early on and both waterlogging and dry-out kill them quickly. If you are overseeding into an existing thin lawn, scalp the existing grass as short as your mower allows and dethatch if there is a thick layer of thatch preventing seed from reaching soil.
Amend your soil based on test results
If your test calls for lime, apply it at least a few weeks before seeding so it has time to shift pH. If your soil is very sandy, work in compost to improve water retention. If it is heavy clay, compost also helps by improving drainage and aeration. A 2-inch layer of compost tilled into the top 4 to 6 inches is a solid improvement without over-engineering the project. Avoid heavy pre-plant fertilizers with high nitrogen right before seeding as those can burn seedlings or feed weeds more than your new grass.
How to sow zoysia seed (rates, depth, and coverage)
Here is where the light-germination requirement really matters. The goal when seeding zoysia is to get the seed sitting on the soil surface, not buried in it, while still having firm contact with the soil underneath. Those two things sound contradictory but they are not: you want the seed touching bare soil with nothing on top of it.
Seeding rates
For raw (uncoated) zoysia seed, use 1 to 2 pounds per 1,000 square feet. For coated seed, increase that to 2 to 3 pounds per 1,000 square feet because the coating adds weight without adding actual seed. Do not go higher than these rates thinking more seed means faster or thicker results. Overcrowding at germination leads to damping off and competition among seedlings, and it wastes money.
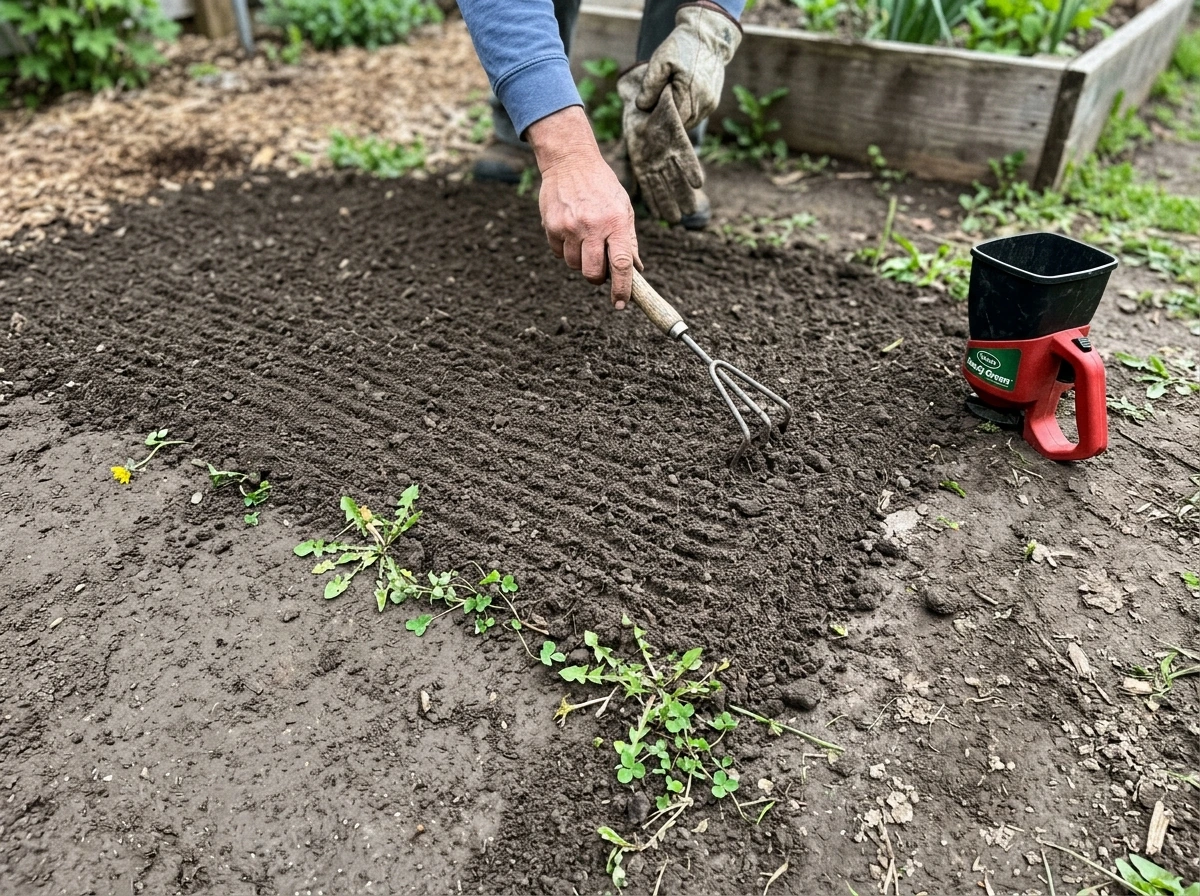
How to apply the seed
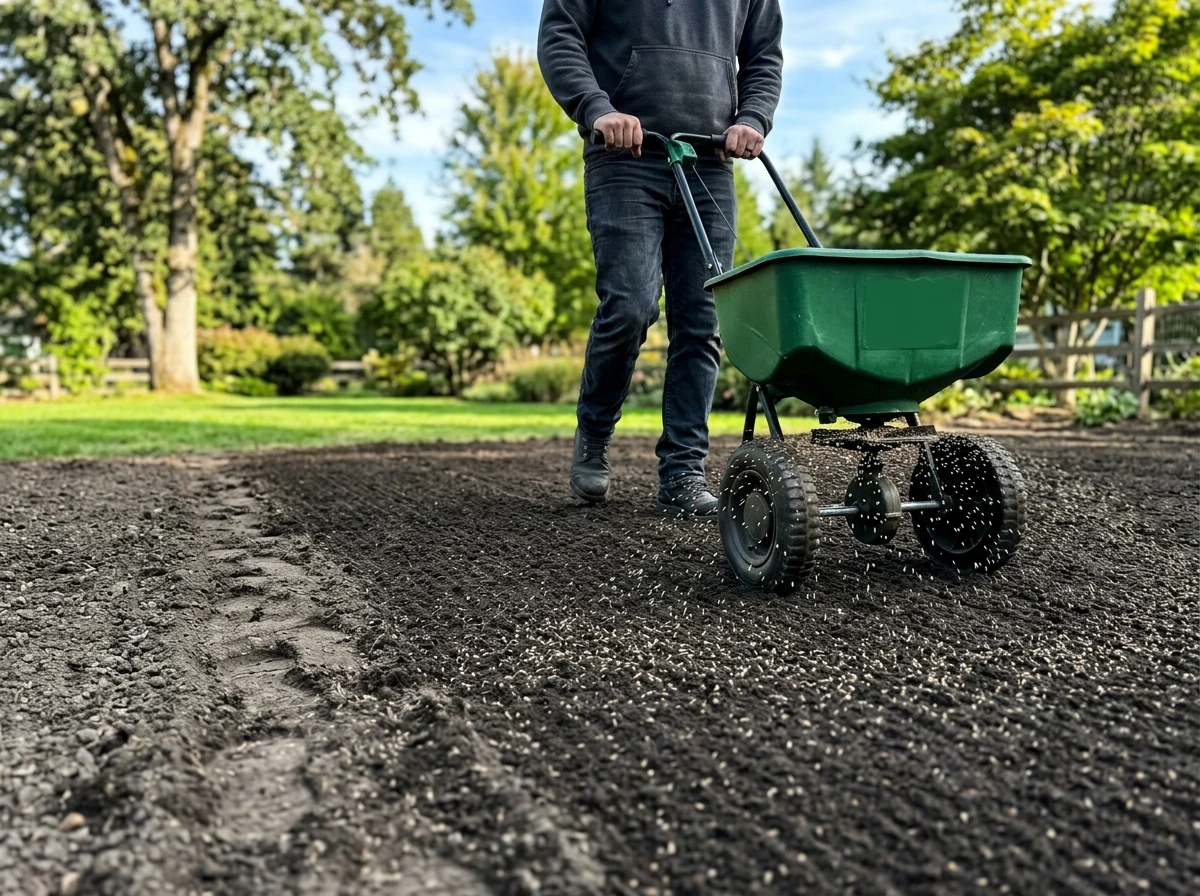
- Rake or drag the prepared seedbed lightly to break up any surface crust and create a slightly rough surface texture for the seed to sit against.
- Use a broadcast spreader or drop spreader to apply the seed evenly. Split your total seed into two equal passes, running the second pass perpendicular to the first for more even coverage.
- Do NOT rake over the seed or cover it with soil. Zoysia seed needs sunlight for improved germination. Burying it reduces germination rates.
- Use a light lawn roller (filled about one-third with water) to press the seed firmly into the seedbed surface. This gives you seed-to-soil contact without covering the seed. A roller is inexpensive to rent or purchase, and this step makes a real difference in germination consistency.
- If you choose to use a light mulch to help retain moisture (straw or lawn establishment netting), apply it very thinly so sunlight still reaches the seed. A thin layer of weed-free straw at about 50 to 75 pounds per 1,000 square feet is enough to retain some moisture without blocking light completely.
Early care: watering, mowing, and weed control during germination
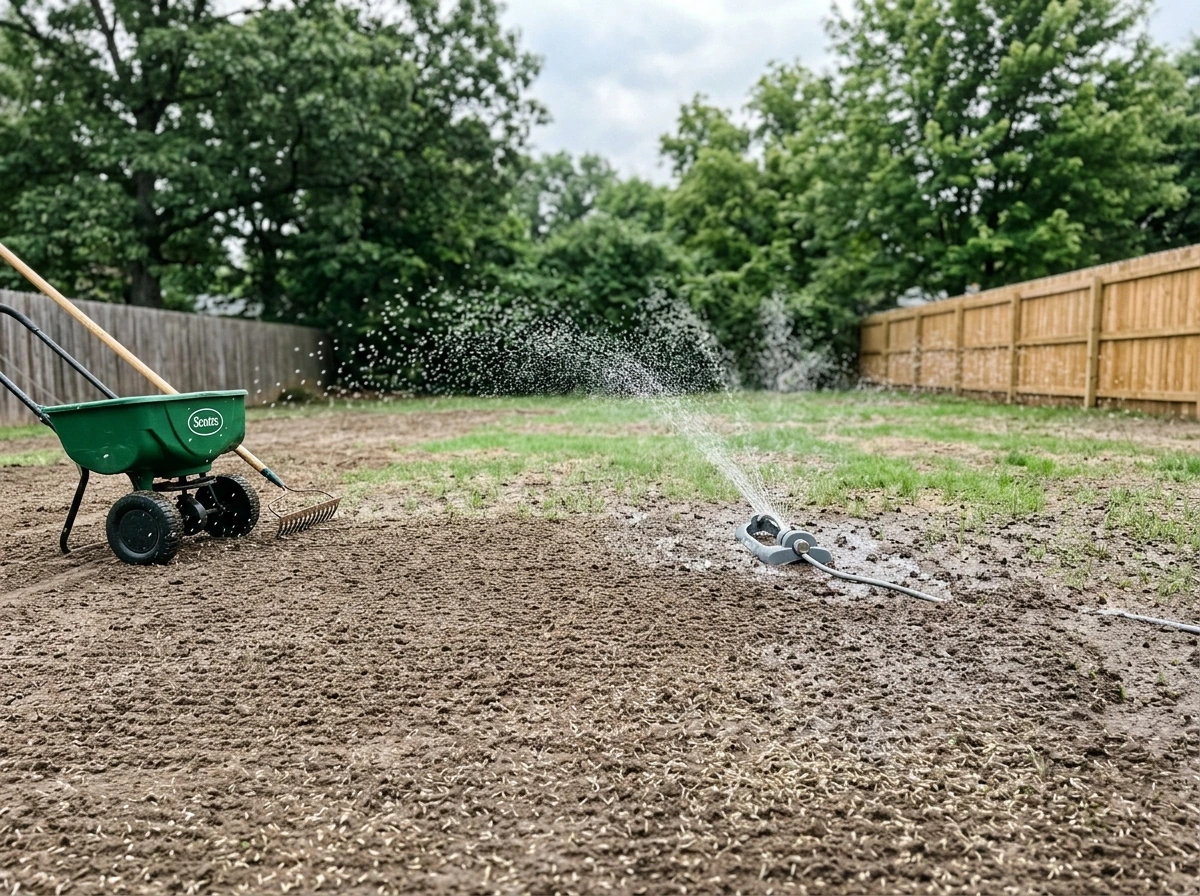
Watering schedule
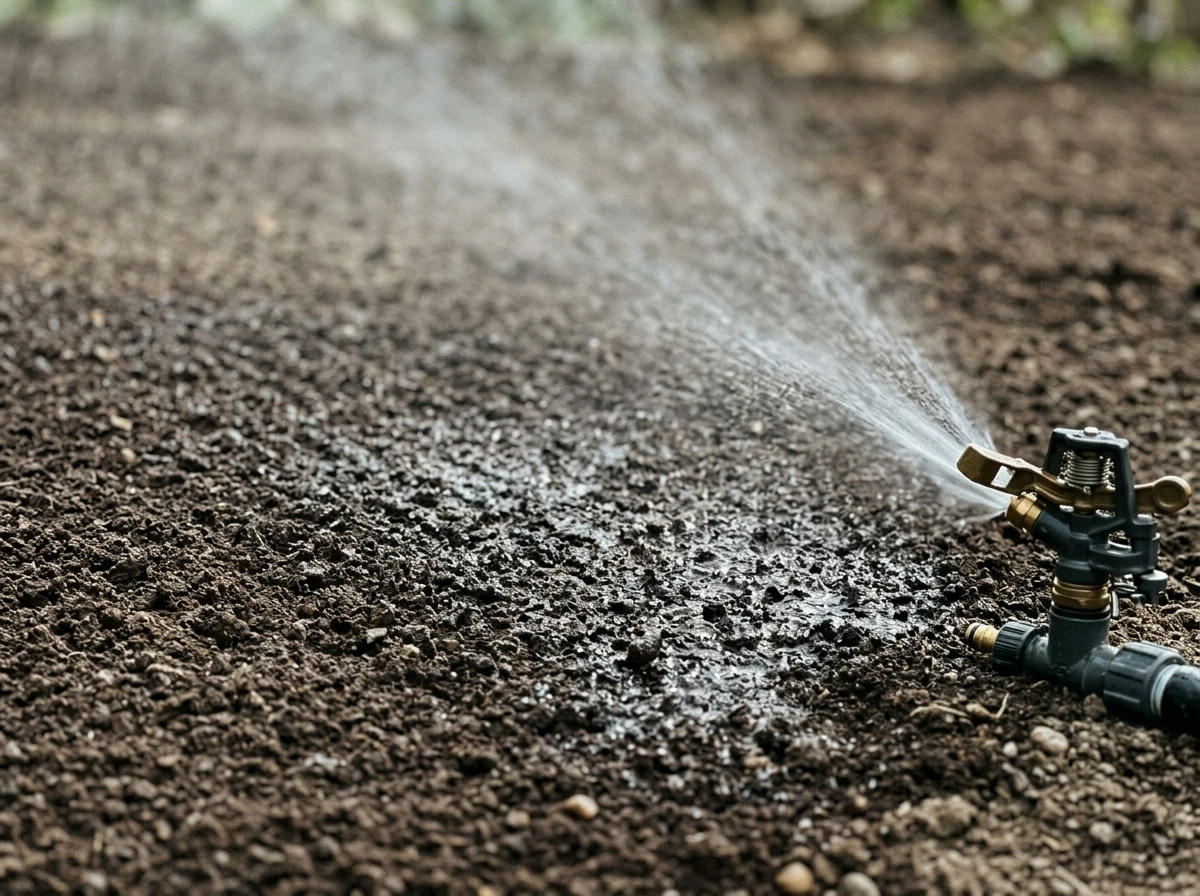
The single most important thing you can do after seeding is keep the soil surface consistently moist until germination. This means light, frequent watering, not deep, infrequent watering. The goal is to never let the top quarter-inch of soil dry out completely, but also not to flood or waterlog it. In hot, dry conditions this might mean watering two or three times per day in short sessions of five to ten minutes each. If it is cooler or humid, once daily may be enough. After seedlings emerge and start to establish (roughly three to four weeks in), you can begin transitioning to less frequent, deeper watering to encourage root development.
When and how to mow
Wait until your seedlings reach about 2 to 2.5 inches tall before the first mow. Set your mower to around 1.5 to 2 inches for early cuts. Some extension guidance suggests 1 inch as the eventual best mowing height for mature zoysia, but during the first season you want to keep things a bit taller to reduce stress on young plants. Use a sharp blade and avoid removing more than one-third of the blade height in a single mowing. For a lawn mowed at 1.5 to 2 inches, plan on mowing about once per week. If you go shorter (closer to 1 inch) as the lawn matures, you may need to mow two to three times per week during peak growing season.
Fertilizing young seedlings
Hold off on fertilizing until your seedlings are 1.5 to 2 inches tall. At that point, apply a light nitrogen application of about half a pound of actual nitrogen per 1,000 square feet. Do not over-fertilize during establishment. High nitrogen encourages fast top growth but weak roots, and it feeds any weeds competing with your seedlings at the same time.
Managing weeds during establishment
Weed control during the germination phase is one of the harder parts of seeding zoysia. You cannot apply pre-emergent herbicide before seeding because it will prevent your grass seed from germinating too. And most post-emergent herbicides are too harsh for young grass seedlings. Your best tools early on are: hand-pulling weeds that pop up, maintaining consistent moisture so your seedlings can compete, and mowing at the right height to prevent weeds from going to seed. Wait until your zoysia has been mowed at least three to four times before applying any herbicide, and check the label carefully to confirm it is safe for young zoysia.
Why your zoysia seed might not be germinating (and how to fix it)
Zoysia seed can take 10 days or more to germinate under normal conditions, and sometimes up to two weeks or longer if conditions are not ideal. Before you panic, give it at least two full weeks. But if you are past that point and still seeing little or nothing, here are the most common causes and fixes:
- Soil too cold: If you planted before soil temps hit 65°F consistently, germination will be slow or stalled. Check your soil temp. If it is still below 65°F, all you can do is wait and keep moisture consistent.
- Seed was covered or raked in: If you covered the seed with soil, it may not be getting the light it needs. For future seedings, leave seed on the surface and use a roller for contact instead.
- Soil surface dried out: Even one or two days of the surface drying out completely during the germination window can set back or kill seeds that were just beginning to crack. Return to the frequent, light watering schedule immediately.
- Soil crust formed: In clay-heavy soils, the surface can bake into a hard crust after watering and drying. This blocks seedling emergence. Gently break the crust with a very light rake or sprinkle of water and return to consistent watering.
- Seed quality or age: Old or poorly stored seed has low germination rates. If you purchased from an uncertain source or the bag has no germination date, this may be the issue. There is no fix except reseeding with fresh, quality seed.
- Wrong timing: Seeding after mid-July in the transition zone gives seedlings too little time. If you seeded late and germination is thin, focus on keeping what you have alive through winter and plan a fresh seeding the following late spring.
If you are dealing with persistently thin emergence rather than zero germination, patchy coverage is usually a seeding rate or distribution problem. Run a second pass of seed over thin areas at half rate, roll it in, and resume consistent watering.
What to realistically expect: germination timeline and long-term density
Here is the honest timeline so you know what you are signing up for:
| Phase | Timeframe | What You Will See |
|---|
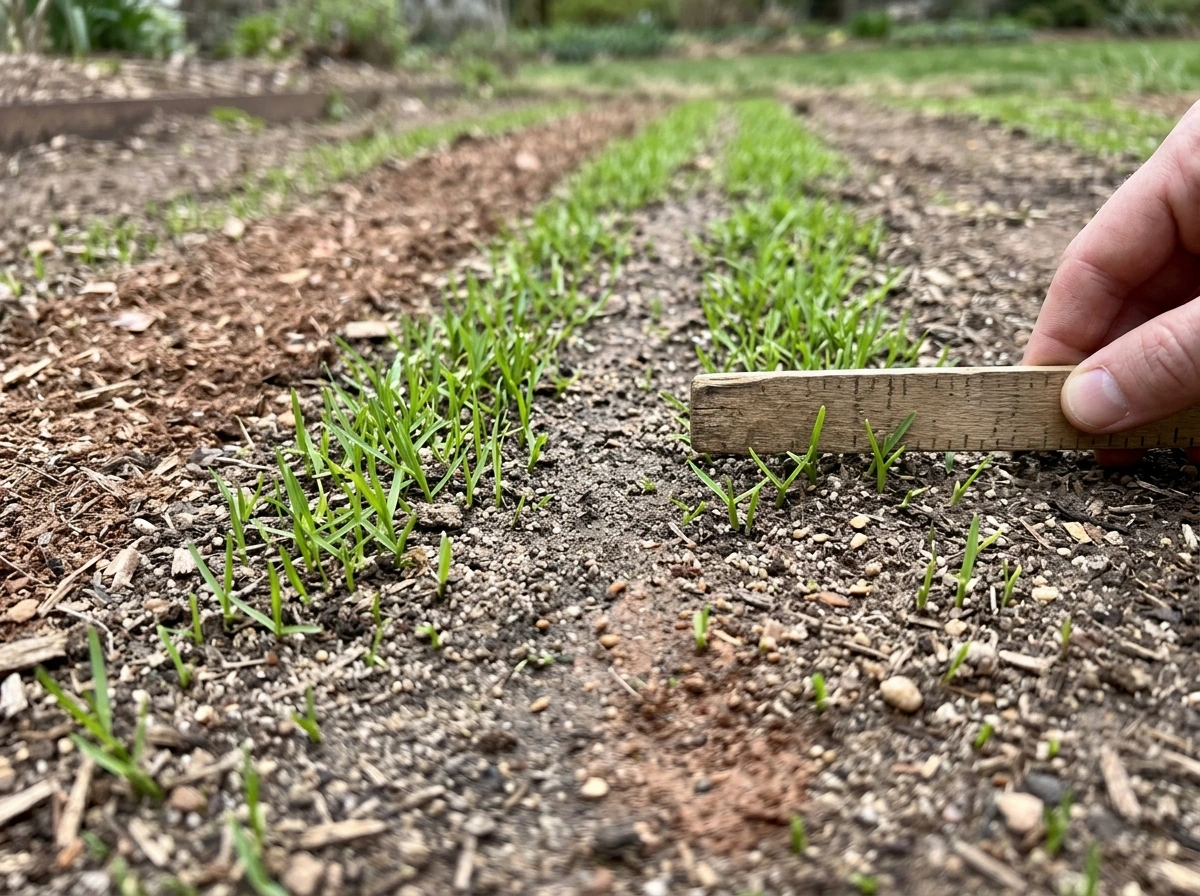
| First germination signs | 7 to 14 days after seeding (optimum conditions) | Tiny green shoots, sparse and uneven at first |
| Visible seedling coverage | 3 to 6 weeks after seeding | Seedlings up across most of the seedbed, still thin |
| First mow | 4 to 6 weeks after seeding (when grass hits 2 to 2.5 inches) | Lawn looks patchy but alive |
| End of first growing season | 3 to 4 months after seeding | Better coverage but still gaps; not a full lawn yet |
| Full establishment | Up to two full growing seasons | Dense, even coverage; lawn looks and performs like zoysia should |
Two growing seasons sounds like a long time, and it is. This is the honest reality of seeded zoysia, confirmed by university extension research. The grass spreads by stolons and rhizomes, which is slow lateral growth rather than the fast filling-in you see with seeded cool-season grasses like fescue or ryegrass. The upside is that once established, zoysia is incredibly durable, drought-tolerant, and dense. It crowds out most weeds on its own and requires less mowing than many alternatives. The patience required upfront is genuinely worth it for the right climate and situation.
If you want faster coverage, the alternatives to consider are plugs or sod. If you want faster coverage, the alternatives to consider are plugs or sod. Growing zoysia from plugs and growing zoysia grass plugs both cover that approach in more detail if you decide seed is not the right path for your timeline. But if budget is the main driver and you have two seasons to invest, seed is a legitimate way to get there.
Your next steps right now
Since today is late March, you are in a good position to prepare properly before the planting window opens. Here is what to do between now and planting time:
- Order a soil test from your local cooperative extension office this week. Results typically take one to three weeks to come back.
- Source your seed now. Look for Zenith or Companion zoysia seed from a reputable lawn seed retailer or farm co-op. Confirm the germination date on the bag.
- Apply lime or pH amendments as soon as your soil test results come back, so they have several weeks to take effect before planting.
- Plan your site prep: schedule aeration, weed removal, and grading for mid- to late May, a week or two before you intend to seed.
- Monitor soil temperature starting in early May. When it consistently reads 65°F or above at a 2-inch depth, you are ready to seed.
- Seed in late May to mid-June for most of the country. Set up your watering schedule before you sow so you are not scrambling after.
- Be patient through the first season. Thin-looking coverage at month two is normal. Keep mowing, keep consistent moisture, manage weeds by hand, and plan for a second growing season to reach true density.
If you are also thinking about long-term care once your lawn is established, topics like how to make zoysia grass grow faster and [how to grow zoysia grass on an existing lawn] are worth reading as your lawn moves into its second season and beyond. Getting through establishment is the hard part. After that, zoysia is one of the lower-maintenance lawns you can have. Getting through establishment is the hard part. After that, zoysia is one of the lower-maintenance lawns you can have.